If you arrive late to the shuttle, the shot you hit doesn’t matter much. Nearly every “bad technique” problem a beginner has, from framing clears to netting drop shots, is really a footwork problem: the body is in the wrong place, so the arm compensates. Footwork is the fastest way to get better, and the basics can be practised in your kitchen.
The ready position
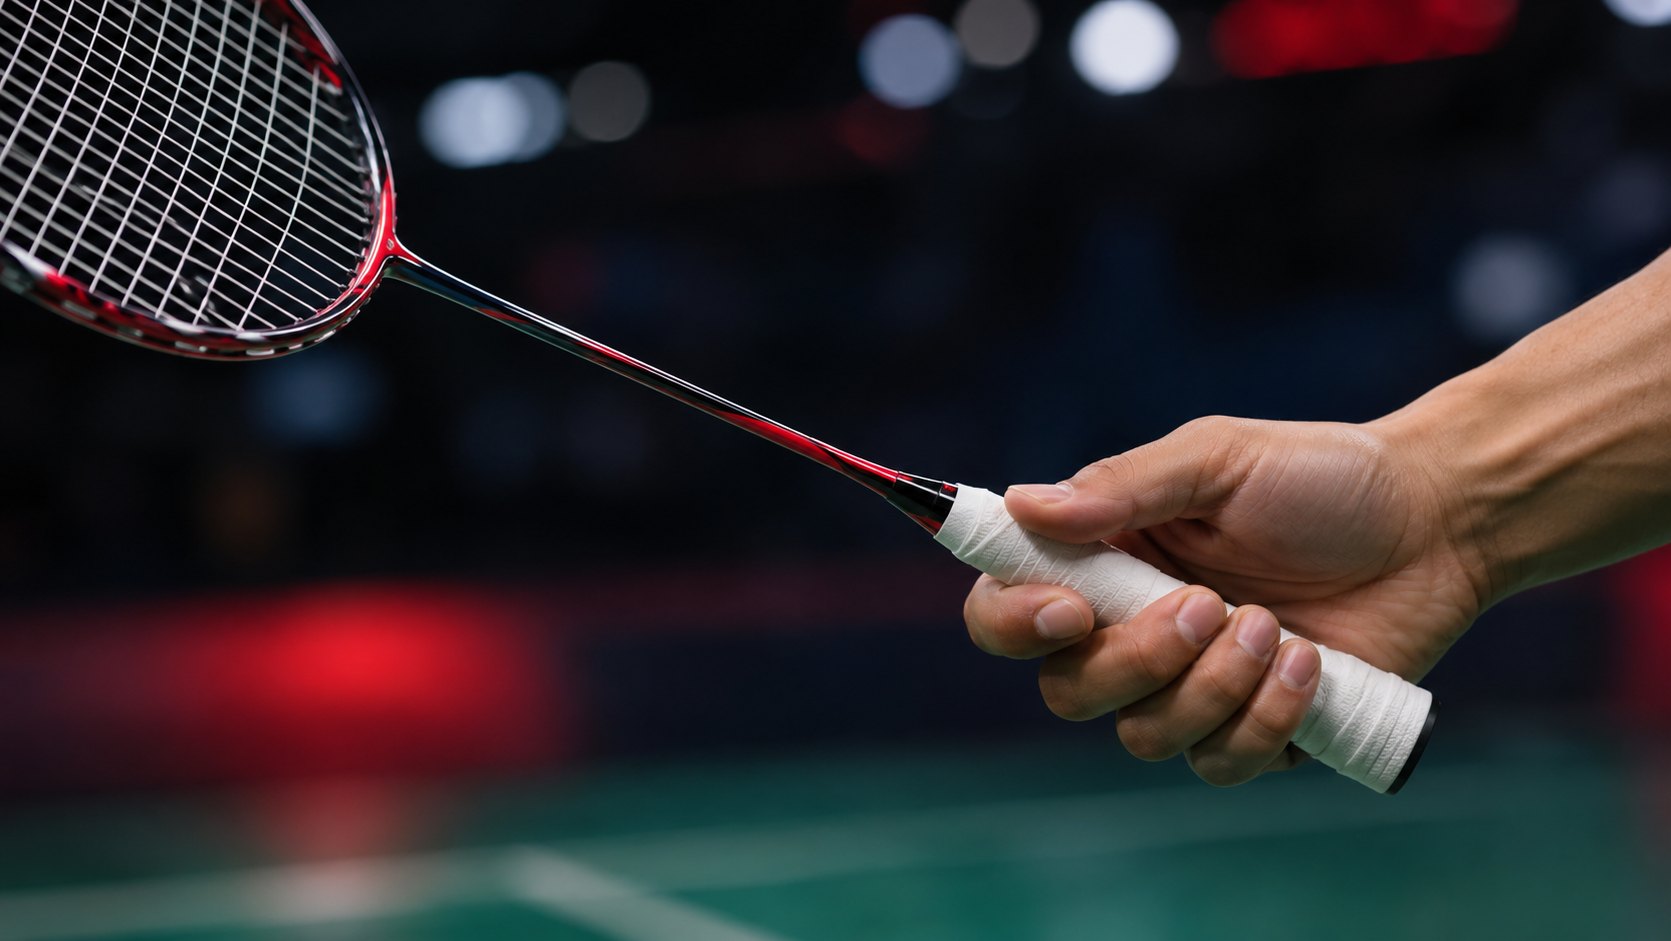
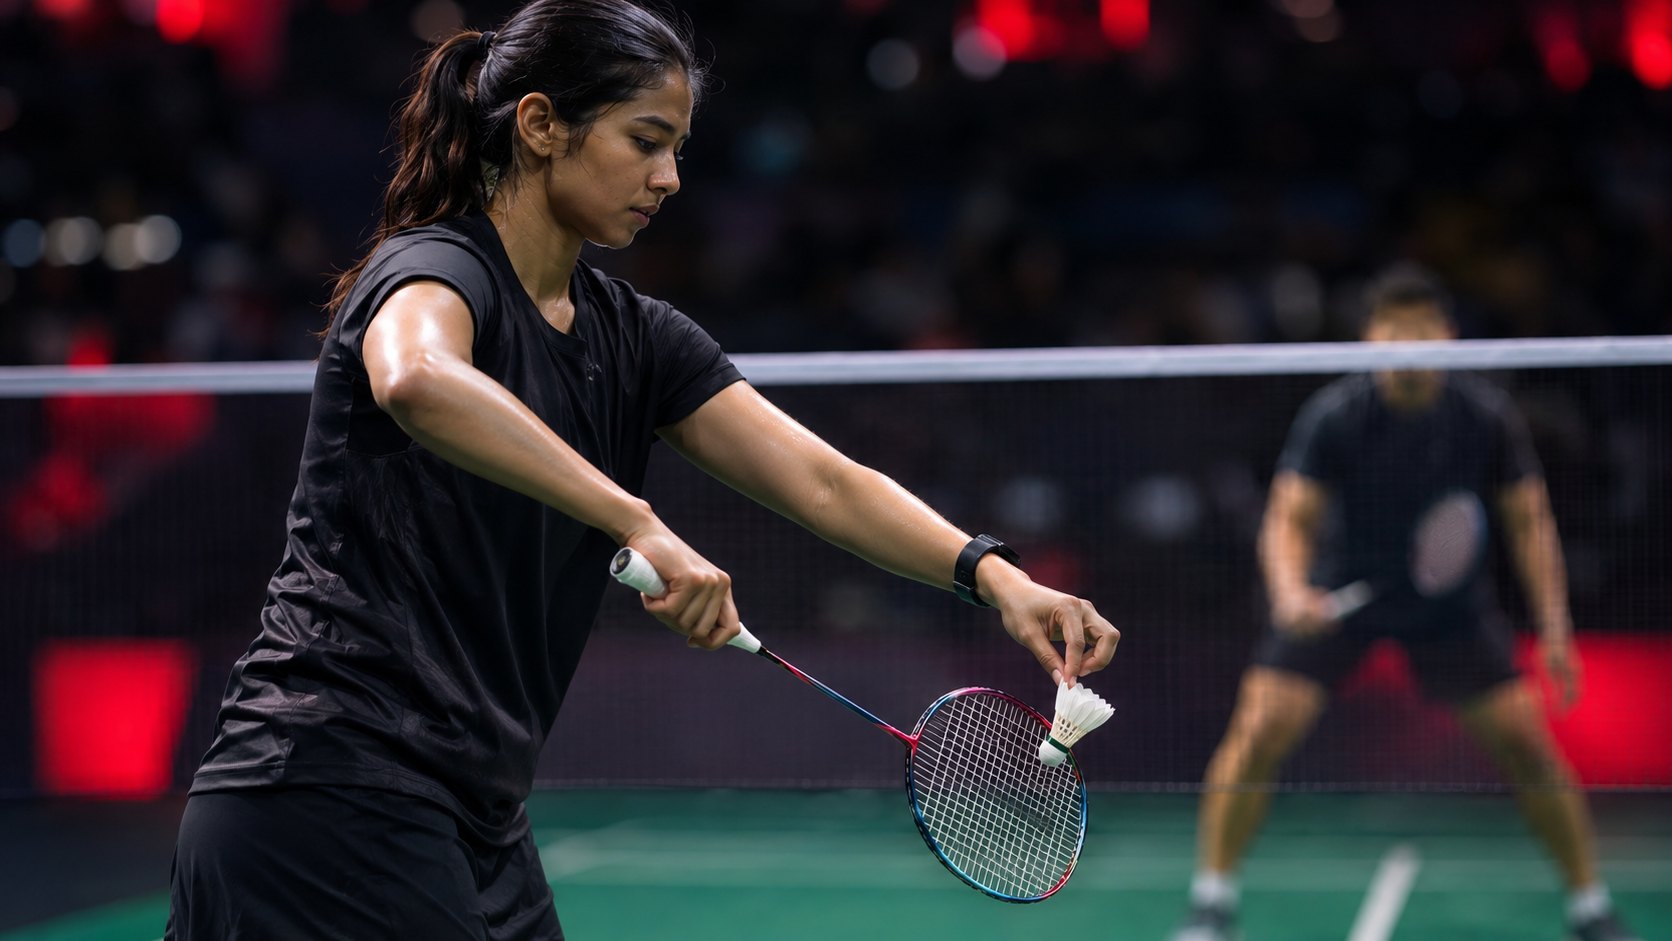
Stand just behind the centre of your court, feet a little wider than your shoulders, knees soft, weight on the balls of your feet. Racket up in front of you, head of the racket at about chin height, held in a relaxed forehand grip. Non-racket arm out slightly for balance.
In singles your base is roughly a racket length behind the centre of the court. In doubles it depends on whether you’re front or back, which is a tactics question. For now, assume singles. (A lighter, head-light frame makes the fast footwork drills below easier to sustain; the racket finder filters for that.)
Don’t stand flat-footed and don’t stand still. The ready position is a moving thing, which brings us to the split step.
The split step
The split step is a small hop, landing on both feet a fraction before your opponent hits the shuttle. It loads your legs like a spring so that your first step goes in the right direction and goes early.
The timing is what beginners get wrong. You should be in the air as your opponent swings and land as, or just before, they make contact. If you land after contact you’ve wasted the bounce. Watch any professional rally in slow motion and you’ll see every player bounce before every shot, including the ones they then don’t have to move for.
The hop is small. Two or three centimetres off the floor is plenty. Land with feet slightly wider than you started, knees bent, weight forward. Then push off.
Chassé vs running steps
There are two ways to cover ground on a badminton court, and you use both.
Chassé (side-step, or “step-together-step”) is where your feet never cross. Push off the back foot, the front foot leads, the back foot closes up behind it, repeat. You stay facing the net or side-on, so you can hit at any moment, and you stop easily. It’s slower over long distances than running but far more controlled. Use it for anything within two steps of your base, and for almost all backward movement.
Running steps (crossover) are where one foot crosses in front of or behind the other. They cover distance fast but your body turns away from the court while you do it, and stopping takes longer. Use them for the long diagonal to the far forehand corner, and for the dash to the net from deep.
Most beginner movement is chassé with one crossover at the start if the distance is big. If you find yourself running everywhere, you’re probably starting late, which is a split-step problem, not a speed problem.
The six corners
A singles court has six places you’ll be sent: two at the net, two at the sides (mid-court), two at the back. The patterns below are for a right-handed player; mirror them if you’re left-handed.
| Corner | Movement | Last step |
|---|---|---|
| Forehand net (front right) | Split, one chassé or step towards the corner, lunge | Racket foot (right) lunges forward |
| Backhand net (front left) | Split, step across with the right foot, lunge | Racket foot (right) lunges forward |
| Forehand side (mid right) | Split, one chassé to the right, step out | Right foot |
| Backhand side (mid left) | Split, one chassé or crossover to the left | Right foot steps across |
| Forehand rear (back right) | Split, turn hips side-on, chassé back, scissor kick or jump | Scissor kick: racket foot (right) swings through and lands forward, left foot back |
| Backhand rear (back left) | Split, turn, two or three running steps, hit around the head or backhand | Right foot plants, pointing at the back corner |
Two things to notice. First, the racket foot lands last in both net corners. Lunging with the right foot to the backhand side feels odd at first but it’s the only way to get your reach and your balance at the same time. Second, going backwards you turn side-on before you move. Running backwards facing the net is slow and is how people fall over.
The rear backhand corner is the hardest in the sport. Beginners should go round the head on a forehand whenever possible rather than hit a true backhand clear. The footwork for that is: turn, two long steps, hit with the body turned past square so your right shoulder points slightly to the backhand side.
Lunge mechanics
The lunge is how you finish every movement to the net and most movements to the side. A good lunge protects your knees for decades. A bad one ends your season.
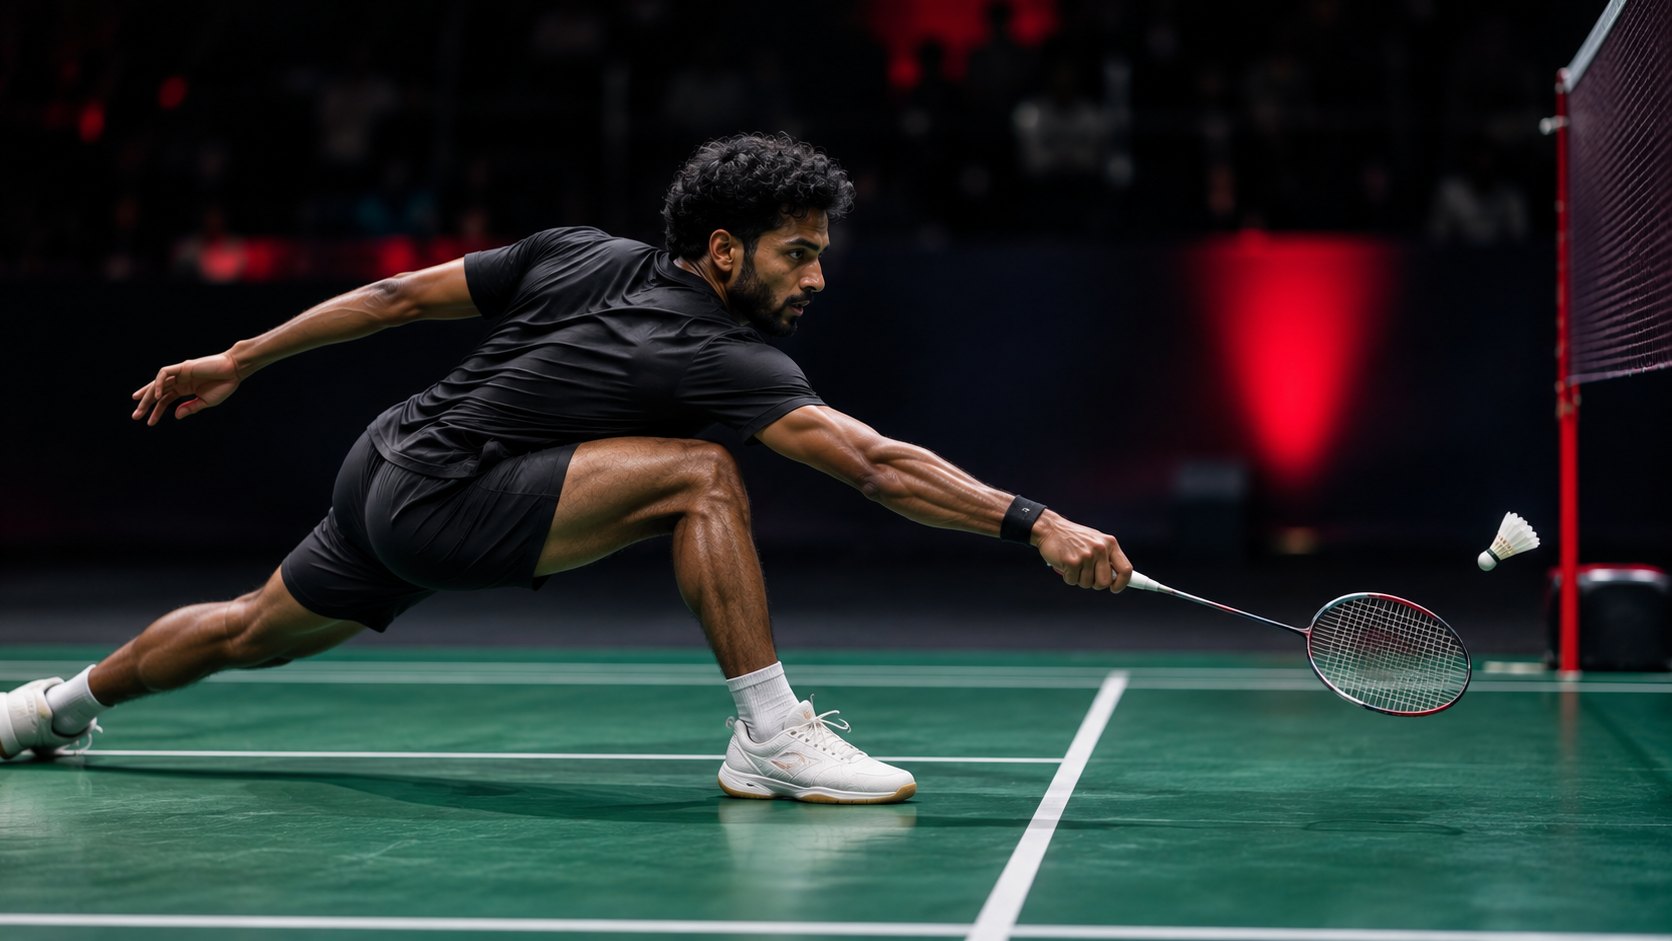
- Land heel first, then roll onto the whole foot. Landing on your toes with a straight leg sends the shock straight into your knee.
- Your knee should finish over your foot, not past your toes, and not collapsing inward.
- The lunging leg points at the shuttle. The back leg stays long and the back foot drags slightly, toes down, which is normal and why court shoes have a tough patch on the toe.
- Keep your chest up. If your head drops below your hip level you’ll be slow to recover and you’ll hit the shuttle down into the net.
- Racket arm extends towards the shuttle while the non-racket arm goes back behind you for balance. Both arms out, like scales.
The picture at the top of this article is what a good deep lunge looks like: front shin close to vertical, back leg long, head up, non-racket arm back.
Recovery to base
Hitting the shuttle is halfway through the movement, not the end. The moment the shuttle leaves your strings, push back towards your base with the lunging leg. Don’t recover all the way to the centre spot every time; recover to the place where your opponent’s most likely reply will be easiest to reach. If you’ve played a tight net shot, your base moves forward. If you’ve lifted high and deep, it moves back.
Practise the push-off. A lunge you can’t push out of was too deep.
Three shadow drills
Shadow badminton means doing the footwork with a racket but no shuttle. Do these on a real court with lines, on a hard floor you can slide a little on, in court shoes. Swing at an imaginary shuttle at the end of each movement so your arm learns too.
Drill 1: Front two corners, 8 counts. Start at base. Count 1: split step. Count 2: step and lunge to forehand net, swing. Count 3-4: push back to base, split. Count 5: step across and lunge to backhand net, swing. Count 6-8: push back to base, split, reset. Repeat 10 times, rest 30 seconds, 3 sets. Aim for a steady rhythm, not speed. The split step on counts 1 and 4 is the point of the drill.
Drill 2: Six corners, 6 counts each. From base, move to each corner in order: forehand net, forehand side, forehand rear, backhand rear, backhand side, backhand net. Each corner is a 6 count: split (1), move (2-3), hit (4), recover (5-6). That’s 36 counts for one full circuit. Do 4 circuits, 45 seconds rest, 3 sets. When this is comfortable, shuffle the order so you have to think.
Drill 3: Random four corners with a caller, 30 seconds on. A partner stands at the net and points to a corner (both front corners and both rear corners). You move, swing, recover, and watch for the next point. 30 seconds work, 30 seconds rest, 6 rounds. Your partner should call the next corner as you’re hitting, not after you recover, because that’s when it comes in a match. If you don’t have a partner, write the four corners on cards and flip them.
All three drills are useless if the split step disappears when you get tired. If you catch yourself standing flat between corners, stop the set.
Shoes matter here
You can’t do any of this safely in running shoes. They have no lateral support and a raised heel, which turns a lunge into an ankle roll. A proper badminton shoe has a low heel, a wrap around the midfoot and a gum or non-marking rubber sole that grips wood and PU floors.
Film one set
Film yourself from the side for one set of Drill 2. You’re checking three things: is there a visible hop before each corner, does your lunging heel land first, and does your chest stay up at the net. Fix the one that’s worst, then come back to the clear and the drop. You can read our smash guide once the rear corners feel comfortable, because the smash lives on the footwork you’ve just learned.