The hardest smashes in badminton are not hit by the biggest players. They are hit by players whose forearm rotates fastest at the moment of contact, and that is a skill you can learn in a few weeks of deliberate practice. For real pace, forget “hit it harder” and work through the chain below: grip, preparation, timing, contact, pronation, follow-through. Power comes from doing those in order.
If your smash feels soft no matter what you do, check the frame too: the racket finder will show head-heavy models built for it.
Grip: relaxed forehand, a touch towards panhandle
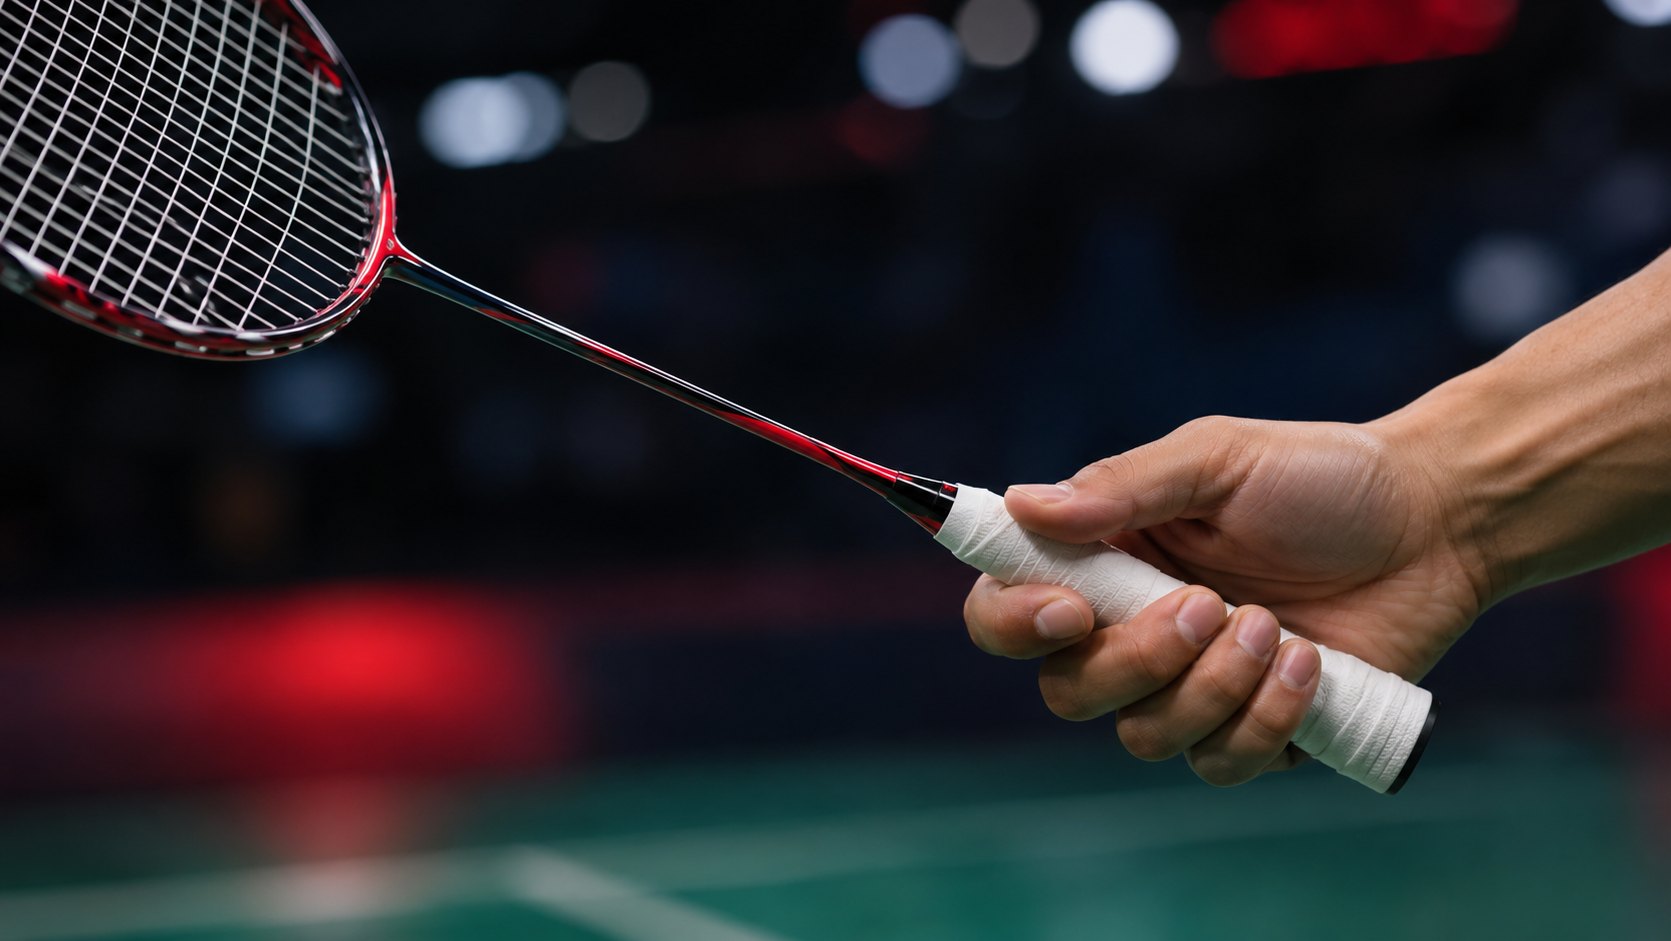
Hold the racket in the forehand (handshake) grip from our grip guide: the V between thumb and index finger sits on the narrow top face of the handle, the frame edge-on to the net, as if you’re shaking hands with it. Keep your fingers loose until the last moment. A tight grip from the start of the swing kills the whip in your wrist and forearm.
For a steep smash, many players rotate the grip a few millimetres towards panhandle so that the strings face the floor a little more at contact. Do this only once the forehand grip is automatic. Too much panhandle and you lose the pronation that produces the power in the first place.
If your racket is twisting in your hand on contact, the grip is too thin or your fingers are too relaxed at impact. Squeeze on contact, not before. Racket choice also matters: a head-heavy frame rewards a smasher, which is covered in head-heavy vs head-light.
Preparation: get side-on, get behind it
Everything about a good smash preparation is designed to put the shuttle slightly in front of your racket shoulder.
- Turn your hips and shoulders so your non-racket shoulder points at the net. You should be able to see the shuttle over your left shoulder (right-hander).
- Move behind the shuttle, not under it. The common fault is to stop where the shuttle will fall and reach back for it; you want it in front of you, so your last step takes you a little further back than feels natural.
- Racket arm bent, elbow high and back, racket head pointing up and behind you. Not dropped down your back yet.
- Non-racket arm up, pointing at the shuttle. It does two jobs: it tracks the shuttle so your timing improves, and it starts the shoulder rotation when you pull it down.
Your weight is on the back foot. You are coiled.
Timing
The smash is a throwing motion, and the sequence is the same as throwing a ball: legs, hips, shoulders, elbow, forearm, fingers. Each one starts moving just before the previous one finishes. If you fire everything at once you get a slap. If you fire in sequence you get a whip.
Start the swing as the shuttle drops to roughly a racket length above where you’ll hit it. Earlier and you’ll be waiting at the top and lose the whip; later and you’ll be rushed and hit it behind you. The non-racket arm pulling down into your chest is the trigger for the shoulders to rotate.
Contact point
Hit the shuttle as high as you can reach, slightly in front of your head, and roughly in line with your racket shoulder. If you froze a picture at contact, your arm would be nearly straight, your body would be almost square to the net (you’ve rotated through from side-on), and your weight would be moving forward onto your front foot.
Hitting in front of you is what creates steepness. Hitting above or behind your head gives a flat smash that travels long. If your smashes sail out, this is nearly always the fix: move further behind the shuttle so contact happens in front.
Pronation: where the power actually comes from
Hold your arm straight out and turn your palm from facing up to facing down. That rotation of the forearm is pronation, and it is the engine of the badminton smash. The old coaching cue of “snap the wrist” is wrong; the wrist contributes a little, but the big, fast rotation is the forearm turning over.
Through the swing, the racket face starts turned slightly outward (supinated) and whips through to face the floor at and after contact. The racket head accelerates from almost nothing to full speed in the last few centimetres before impact. That late acceleration is why a relaxed grip matters so much: a tense forearm can’t rotate quickly.
A drill that isolates this: stand at the net, racket arm straight up, and hit a shuttle fed to you using nothing but forearm rotation. No shoulder, no legs. You’ll be surprised how hard it goes.
Follow-through
After contact the racket continues down and across your body, finishing near your non-racket hip. Your back leg swings through so that you land with your racket-side foot forward. That scissor action of the legs is what gets your body moving towards the net to follow the smash.
Don’t stop the racket short to “control” the smash. Stopping the follow-through means you decelerated before contact.
Jump smash progression
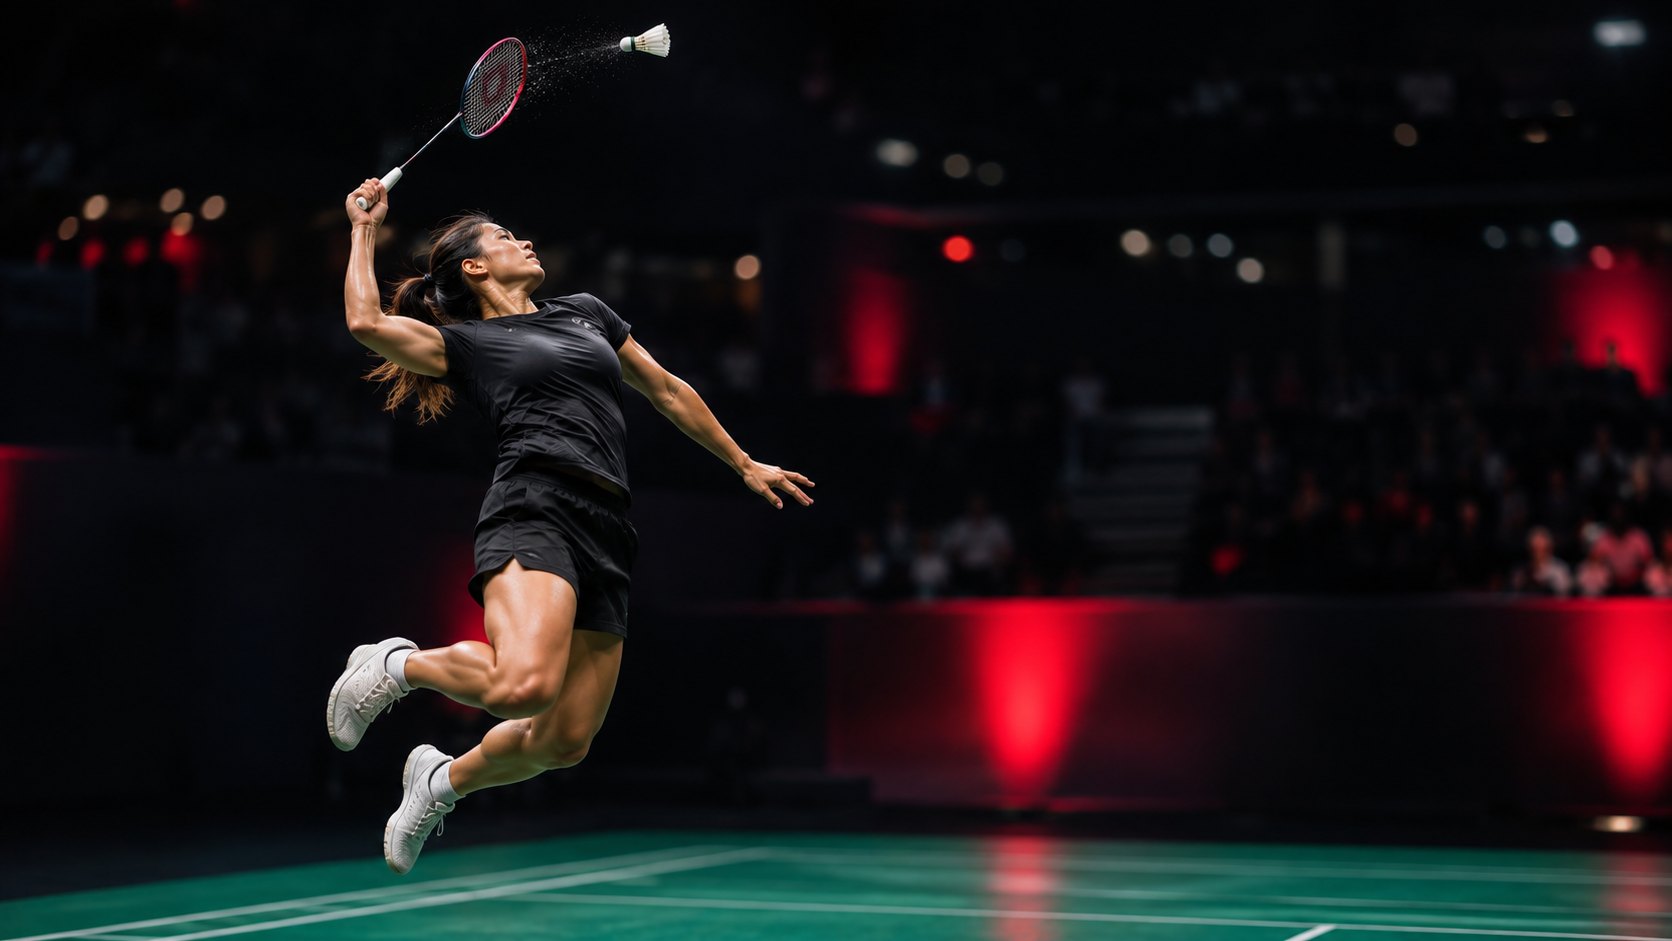
A jump smash isn’t a different shot. It’s the same smash hit from the air, which gives you a higher contact point (steeper angle) and lets you take the shuttle earlier. Learn it in stages.
Stage 1: Scissor kick, no jump. Hit standing smashes with the leg exchange: back foot swings through and lands forward as you hit. Do this until the leg exchange and the contact happen at the same instant without thinking.
Stage 2: Small hop. Push off the back foot so both feet leave the ground by a few centimetres. Still scissor the legs. Land front foot first, in balance. Your contact point rises slightly and your timing has to adjust because you’re now hitting at the top of a hop.
Stage 3: Load and jump. From side-on, sink into both knees, then drive up and slightly back off the back leg. Hit at the top of the jump. Land on the racket-side foot (which has swung forward) then the other foot, already moving towards the net.
Stage 4: Jumping off the move. Combine with rear-court footwork: chassé back, plant, jump. This is the match version.
Two cautions. First, a jump smash hit at the top of the jump with a sinking body is slower than a standing smash hit well. Don’t jump until your standing smash is good. Second, landing badly is how knees and ankles get hurt. Land soft, knee over toe, and get your weight forward.
Common faults and fixes
| Fault | What you see | Fix |
|---|---|---|
| Smash goes long | Contact behind the head, flat flight | Get further behind the shuttle; contact in front |
| Smash goes into the net | Contact too far in front, or head dropping | Hit higher; keep chest up through contact |
| No pace despite a big swing | Tight grip, no pronation, everything firing at once | Loose grip, forearm rotation drill, throw the sequence |
| Shuttle flies off at an angle | Racket face open at contact | Check grip: too much panhandle or too much backhand |
| Can’t recover after smashing | No scissor kick, weight on back foot | Finish with racket-side foot forward |
| Shoulder pain | Elbow below shoulder height at contact, arm doing all the work | Elbow high in preparation, more hip and shoulder rotation |
Drills
Drill 1: Towel whip, 3 x 20. Hold a small towel by the end and whip it at a target on the wall at head height using the full throwing sequence. You hear a crack when the sequence is right. Twenty reps, three sets. Tedious, but it teaches timing without a shuttle.
Drill 2: Half-court smash and recover, 3 x 15. Partner feeds high lifts to your forehand rear corner from the other half. Smash straight down the line, recover to mid-court, partner feeds again. Fifteen smashes, rest, three sets. Count how many land inside the court. Under 12 out of 15 means you’re swinging too hard.
Drill 3: Target smashing, 30 shuttles. Put a towel or a box on the far court at the point halfway between the short service line and the back line, on the side line. Try to hit it. Then move it to the other side line. Then to the body position of an imaginary receiver (centre, waist height). Most club players only have one smash direction; this drill gives you three.
Drill 4: Smash, net, smash, 3 x 10 rallies. Partner lifts, you smash, partner blocks to the net, you play a net shot, partner lifts again, you smash. Ten rallies, three sets. It trains the smash as part of a pattern rather than a one-shot wonder, and it will show you quickly whether your scissor kick is getting you forward.
Two weeks without smashing
For the next two weeks, don’t smash in games at all. Hit clears from the same preparation, so that your body stops telling the opponent when the smash is coming. In practice, do Drill 1 at home and Drill 2 on court. Then let the smash back into your game and see how much more of them land.